


Important Update on Gluten-Free Oats
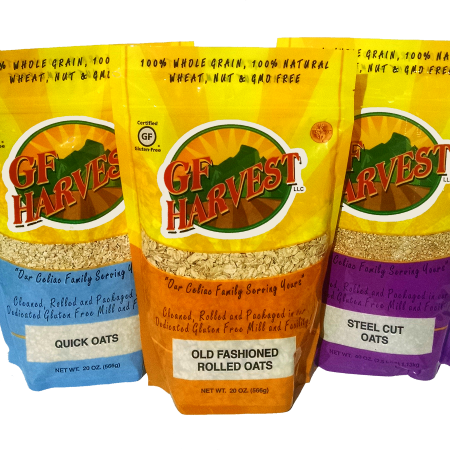
Important Update on Gluten-Free Oats I’m sharing an important update on the Gluten-Free Oats from GF Harvest, also known as GlutenFreeOats.com. Until further investigation is made into recent laboratory testing showing significant gluten in these oats, please give careful consideration to purchasing and whether or not you should consume oat products you have already purchased. …

Would You Vacay With Someone Who Is Gluten Free?
Would you vacay with someone who is gluten free? Watching Below Deck Sailing Yacht last night, it was made known the primary charter guest has celiac disease. The sailing charter was for her wedding to her college sweetheart. The chef, Marcos, shared really helpful and caring information about how he would be cooking all meals…

Wrapping Up Celiac Awareness Month 2022
Wrapping Up Celiac Disease Awareness Month 2022 Today I am wrapping up Celiac Awareness Month 2022 with my 30th post in a month. I’ve shared thirty posts related to celiac disease, the challenges of a gluten-free diet and also the good stuff and people that come with eating a medically necessary gluten-free diet. Here is…
Celiac Disease and a Food Scarcity Mindset
Celiac Disease and a Food Scarcity Mindset Each May, during Celiac Awareness Month, the food scarcity mindset in the gluten-free community becomes so noticeable in social media posts. Not that this mindset isn’t front and center all year, but it’s especially noticeable in posts about the gluten-free finds, the new products, the giveaways and promotions…
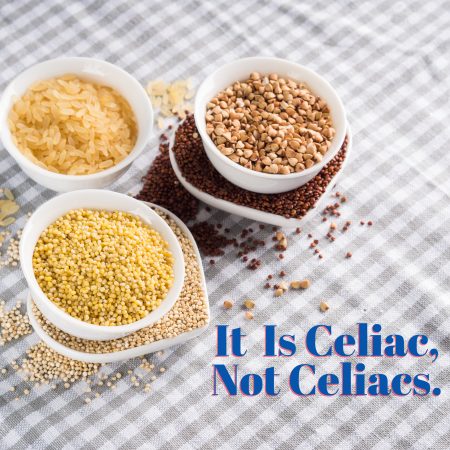
It Is Celiac, Not Celiacs
It Is Celiac, Not Celiacs Often we hear something like this, “Oh, yeah, my nephew has celiacs.” But no. He has CELIAC. There is no S on the end. Here’s why it is celiac, not celiacs… Celiac disease is not named after a person like Parkinson’s Disease or Lou Gehrig’s Disease or Huntington’s Disease. It…
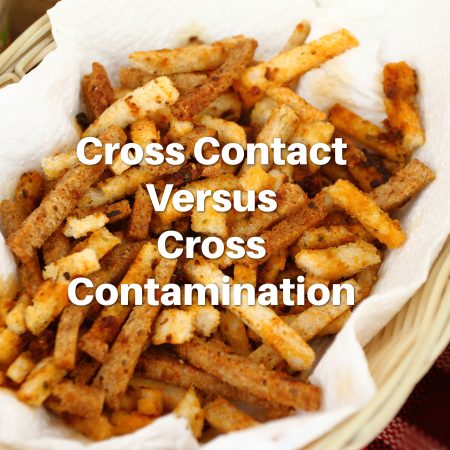
Cross Contact Versus Cross Contamination
Cross Contact Versus Cross Contamination In the gluten-free community, we talk a lot about gluten accidentally getting into our food, especially food that is prepared at a restaurant. Most often we hear this referred to as cross contamination. Did you know that isn’t the correct term? The term for this is cross contact. Let’s talk…