
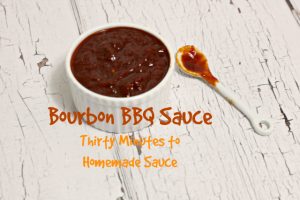
Summer has arrived, it’s time to fire up the grill. You’ll need this recipe for Bourbon BBQ Sauce. It’s gluten-free and refined sugar-free, two things hard to find in sauces at the store. You won’t want those sauces anyway after you taste this one! Bourbon BBQ Sauce, the backstory: I’m from Kansas City, the Barbeque
Strawberry Muffins (gluten-free, dairy-free, refined sugar-free)
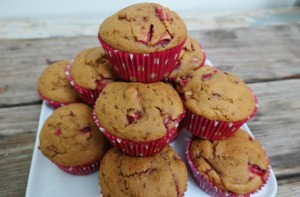
Remember last week when I went strawberry picking? Well, it’s been all about strawberries in my kitchen since then. There is nothing like the sweet and tart combination of a fresh strawberry, especially one grown locally and picked with your own hands. Plus having all of these berries not-so-patiently waiting inspired me to make strawberry…
Dutch Baby/German Pancake for Two (gluten-free, dairy-free, grain-free, Paleo)

Breakfast is my favorite meal of the day, even in the heat of Summer. Sometimes when it’s really hot, like it’s going to be later this week, the only time of day I really want to use the oven is first thing in the morning. On those days, I make a Dutch Baby/German Pancake for…
Raspberry Italian Cream Soda, Dairy Free

My favorite fella has taken a liking to the Italian cream sodas offered at a local coffee house…the $7.50 Italian cream sodas. Needless to say, he isn’t buying one every single day, but admitted he would like to enjoy one every single day if it weren’t for the price. And then he mentioned it would…
Cranberry Orange Scones, gluten-free, grain-free, dairy-free and Delicious!
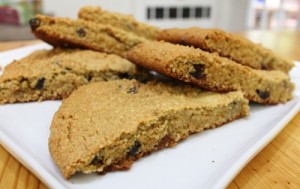
I asked recently on Facebook what kind of scones y’all like best. The overwhelming winner: Cranberry Orange Scones! Off to the kitchen I went to make this happen… My kitchen stayed busy last week, working and re-working the recipe to get it just right. After much work, I came up with a gluten-free, grain-free, dairy-free…
Cornbread Waffles, Gluten-Free & Dairy-Free
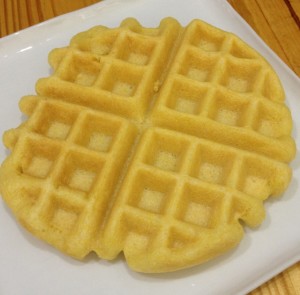
Ever since the new Belgian waffle maker arrived on my doorstep, I’ve been making all sorts of waffles. After a few weeks of breakfast-style waffles, I decided to branch out and make something that worked well for dinner…on those night when breakfast for dinner wasn’t quite right. Cornbread waffles are the first of the savory…
- 1
- 2
- 3
- …
- 9
- Next Page »