
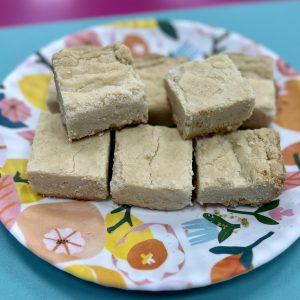
In my kitchen, everyone should be able to enjoy Biscuits with the Boss, even if they can’t have gluten or dairy. I’ve got a recipe to share with you today, a slight remodel from the Offical Ted Lasso Biscuits recipe to make it gluten-free and dairy-free. Do you BELIEVE it possible? You should! If you…
Restaurant Style Fried Pickles, Gluten-Free
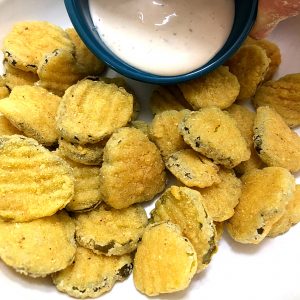
Do you miss deep fried restaurant appetizers since going gluten free? I know I sure did! Restaurant Style Fried Pickles has been top of my list to make gluten-free. I’ve got a super easy recipe for Restaurant Style Fried Pickles. It’s gluten-free plus dairy-free plus egg-free, plus vegan. This recipe would work for lots of…
Dalgona Coffee, The Heavenly Caffeinated Cloud Everyone Raves About!
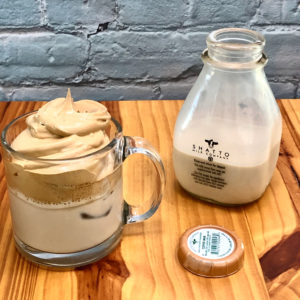
Have you tried Dalgona Coffee, the heavenly caffeinated cloud over iced milk everyone is talking about? Today I’m sharing a very simple recipe to make your own dreamy iced coffee in a flash! Maybe you’ve seen a TikTok video of Dalgona coffee being made? It reportedly originates from a Korean TV program and originates from…
Everything But the Bagel Seasoning Recipe
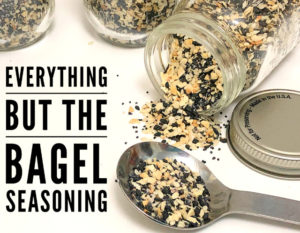
Are you as taken with the Everything But the Bagel Seasoning from Trader Joe’s as I am? Want to make it at home? I’ve got an Everything But The Bagel Seasoning Recipe to share today! A few tidbits about my recipe: My version is less salty than the Trader Joe’s version. I found it too…
Summer Vegetable Pozole (gluten-free, dairy-free, vegan)
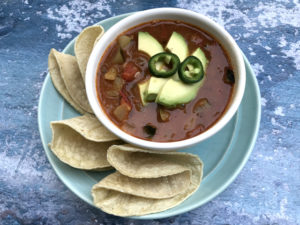
Summer Vegetable Pozole, a lighter version of the traditional Mexican soup or stew, packed with vegetables from the Summer garden, seasoned with traditional rojo Pozole spices. While warm soups and stews don’t often make the summer menu in my kitchen, this one is on frequent rotation as long as the abundance of produce from a…
Hummingbird Muffins in the Instant Pot (gluten-free, dairy-free, egg-free/vegan option)
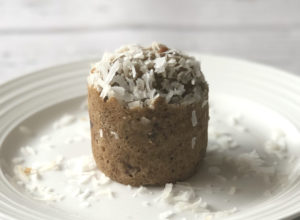
Hummingbird muffins in the Instant Pot, complete with bananas, pineapple, coconut and pecans, are perfect to welcome Spring! This recipe makes six muffins in the Instant Pot, “baked” in jars. If you like hummingbird cake, you’ll love this version, perfect for breakfast or with tea in the afternoon. I created this recipe for the March…
- 1
- 2
- 3
- …
- 42
- Next Page »